

You’ve opened Excel a couple of times. You’ve seen others use it to great effect. And now, it is your time to start on your path to becoming the Excel guru of the office.
Welcome to the absolute beginners lesson on Excel.
To be honest, this isn’t just one lesson. It is a group of lessons designed to kickstart your adventure into the world of Excel.
The lessons take about five minutes each. Lets get into it, this first part is about workbooks.
Workbooks
In this lesson, we’ll be looking at creating, opening and saving your work. These are some of the fundamentals of Excel and getting the fundamentals right is important to be able to build on in later lessons. We’ll also show some keyboard shortcuts to do these things quicker.
First of all, some definitions.
Excel files are called workbooks. Workbooks can be thought of as books that contains ‘pages’, called the spreadsheets, or simply the sheets. They are the tabs you see at the bottom of the Excel window. We will talk more about sheets in another lesson. For now, we focus on the workbook.
Creating a new workbook
When you start Excel, you get greeted with an empty workbook. You can use this as a blank canvas to start in. You can also create a new workbook by clicking on the File tab in the top left of the Excel window.
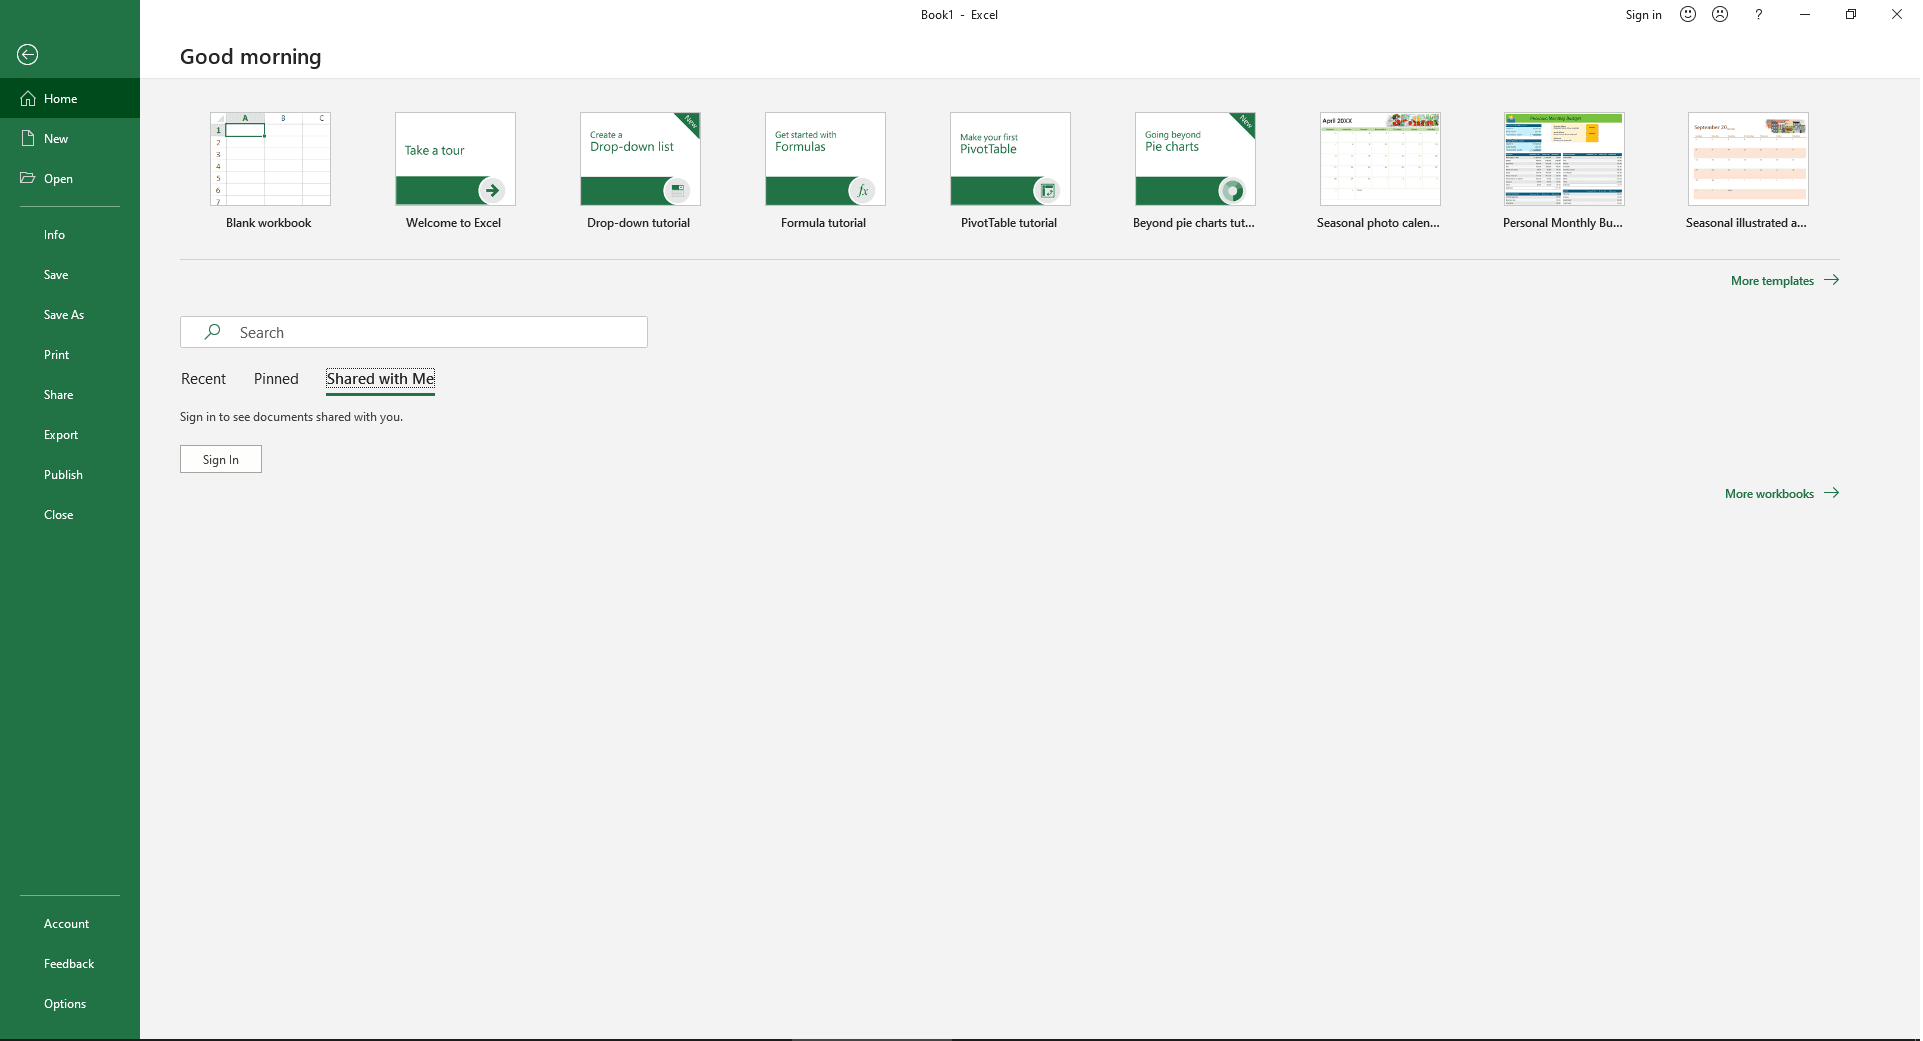
Here, you can create a new workbook by clicking on New and selecting Blank workbook. This opens a new window with a new empty workbook.
Alternatively, you can press Ctrl + N (Windows) or ⌘Command + N (Mac) to open a new workbook.
Opening a workbook
Opening a workbook is very similar to creating a new workbook. You click on the File tab in the top left of the Excel window. On this tab, click on Open.
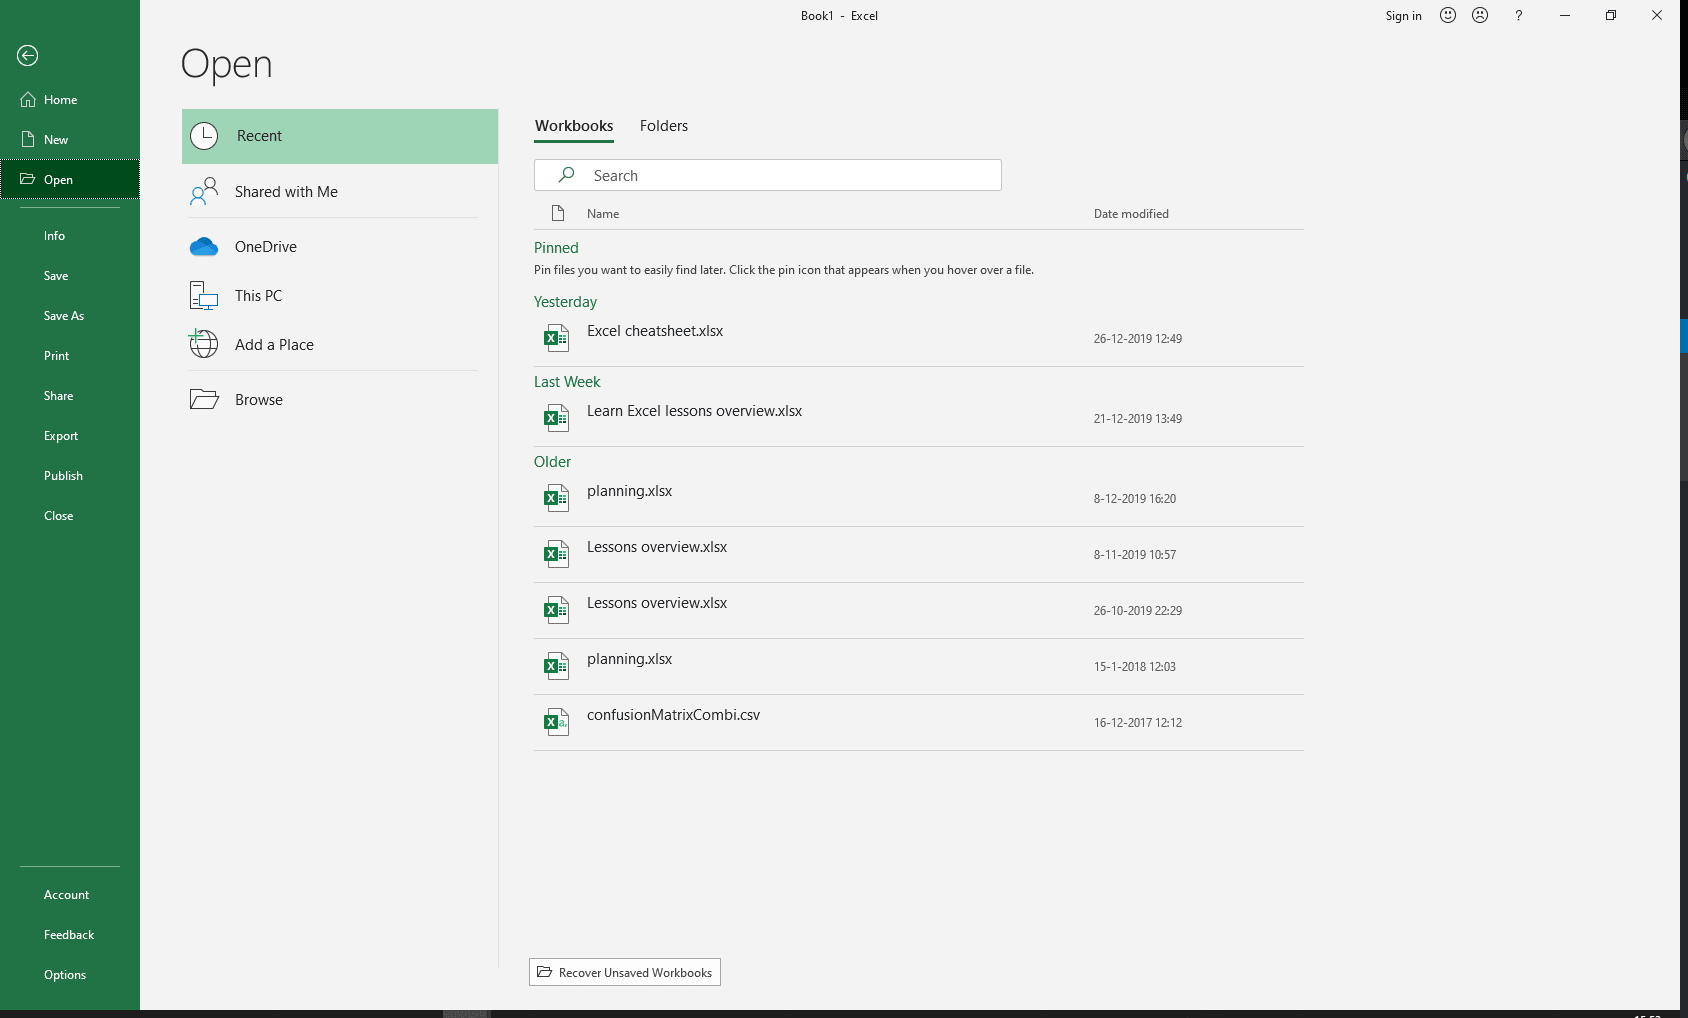
The screen that you see now contains the recently opened workbooks. You can click one of those to open them. Or, by clicking Browse, you can browse your computer for other Excel workbook files to open.
For opening workbooks there is also a keyboard shortcut: Ctrl + O (Windows) or ⌘Command + O (Mac).
Saving a workbook
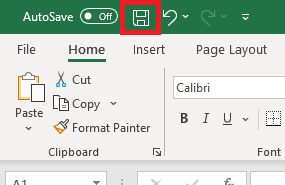
You can save by clicking on the floppy disk icon in the top left of the screen.
When clicking the button, one of two things can happen.
- If the workbook you are saving was opened or saved before, the worksheet is simply saved. You are done, your file has been saved.
- If the workbook was created anew and not saved yet, the Save as window is opened. This is because Excel does not know where to save the file. You have to tell it where to put the file for you.
Instead of clicking on the floppy disk icon, you can press Ctrl + S (Windows) or ⌘Command + S (Mac).
Worksheets
If an Excel workbook is the book, then the worksheets are its pages. When you create one, you get a new empty workspace to fill with content. Usually, these worksheets are used to categorize the data in the workbook, but they can be customized to your heart’s content.
For example:
- A personal finance workbook may have a worksheet for money coming in and one for money going out. And then a third one that summarizes both and calculates the net income.
- A calendar workbook may have sheets for each month of the year.
- An inventory workbook may have items categorized and a sheet per category.
Adding sheets to your workbook
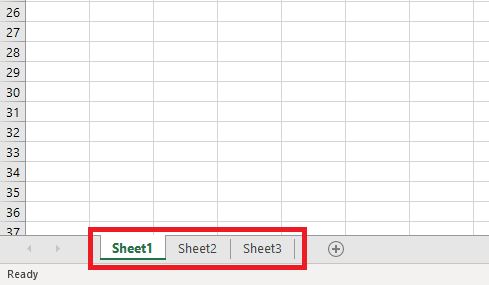
Worksheets are shown as little tabs at the bottom left of the Excel window. When you create a new workbook, you always start with a single sheet, called Sheet1.
Adding another sheet to your workbook is simple. Click on the plus icon next to the other sheets, in the bottom left of the Excel window.
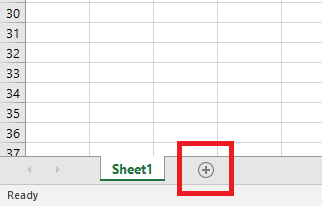
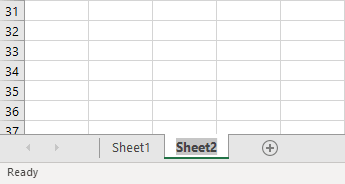
This will create and select a new sheet.
You can also press Shift + F11 (Windows and Mac) on your keyboard to create a new worksheet.
Renaming sheets
Sheet1 and Sheet2 are not very descriptive names. You are going to want to change the sheet names to better inform others and yourself in the future about what you can expect to find in the sheet.
You can rename a sheet by double clicking on its name. A gray box will appear around the name, indicating you can now change it.
Type a new name and hit Enter to rename the sheet.
Deleting sheets
Before you delete a sheet, make sure you know that the data on the sheet cannot be easily recovered. You cannot undo the delete action like you can undo most actions.
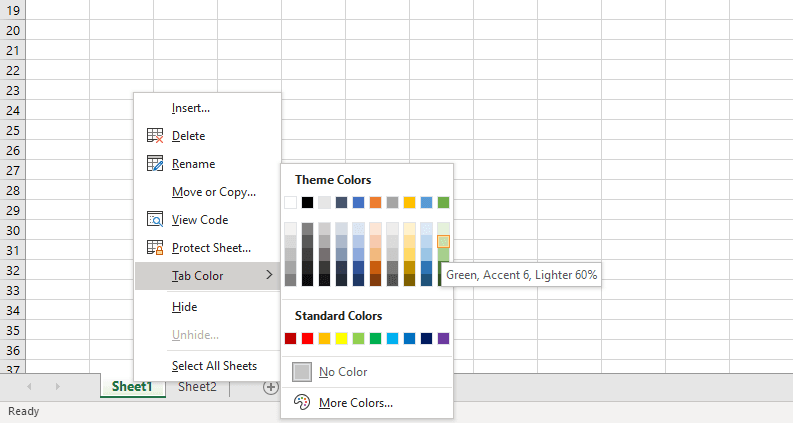
Then, to delete a sheet, right click on its tab and select Delete.
Change tab color
To change the color of the tab of the worksheet, right click on the tab, go over to Tab Color and select a color.
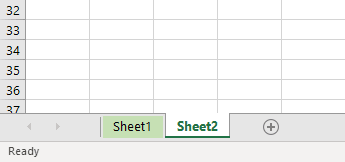
And this is the result:
Reorder tabs
To change the order of the tabs, you can drag and drop them:
- Click on a tab and hold down the (left) mouse button.
- Drag the tab to the new position.
- Release the mouse button.
Selecting
Whether you’re a beginner or not, you probably already know how to select a cell. It’s the first thing you do when you start with Exel. But advanced Excel users select more than just individual cells. You might want to format an entire row. You might want to sum a specific group of cells together. There are many possible situations in which you may want to select more. In this lesson, we’ll be going into the different ways of selecting things in Excel.
Row and column selection
As you know, to select a single cell, you have to click on it. You can double click on it to edit its contents.
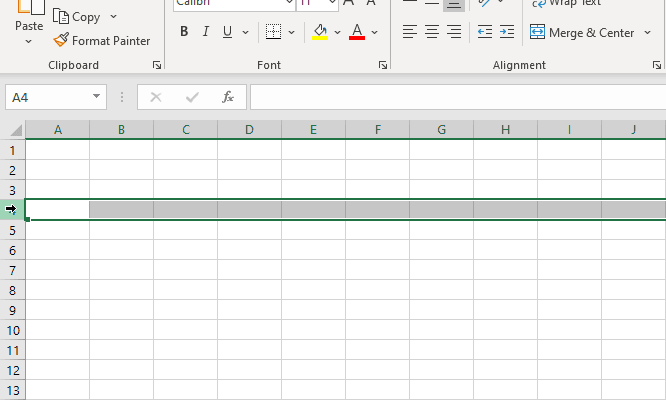
To select an entire row, you can click on the row number on the left side of the Excel window.
Similarly, for columns you can click on the letters at the top of the worksheet (A, B, C, etc) to select the entire column.
A quick productivity trick: When you have a cell selected, you can press Shift+ Space(Windows and Mac) to select the complete row. You can do the same for columns with Ctrl + Space (Windows and Mac).
Keyboard shortcuts don’t work in the interactive Excel editor yet, so try it out in your local Excel.
Select a group of cells
Selecting a group of cells is one of the most important techniques in Excel. Because it is so useful, it was made very simple. Click on a cell and drag the mouse. Release the mouse button when you have selected everything you want.
Select all
You can select all cells at once with a button that is hidden in plain sight: the triangle to the left of the columns headers (A, B, C, etc).
But why would you want to select all cells at once? For example to change the format of the complete worksheet in one go. Or to clear all text in the worksheet. There are definitely legitimate situations where you need this.
The keyboard shortcut for selecting all cells is Ctrl + A (Windows) or ⌘Command + A (Mac).
Beginner keyboard shortcuts
There are some shortcuts that every Excel user should know. They are not the most complicated shortcuts, but they can boost your productivity tremendously. In this lesson, we will be looking at these shortcuts.
Do not forget to open up Excel and try these for yourself! You will get a feeling for where the buttons are located and when the shortcuts work and don’t work.
Undo and redo
If there is any shortcut that you should remember from this lesson, it should be these ones. Undo and redo are real life savers when you make a mistake. Undo allows you to go back a step (up to 16 steps). Redo makes you go forward a step. Anything from writing things in cells to deleting tables to changing cell formatting can be undone using this shortcut.
Undo
Ctrl + Z (Windows) or ⌘Command + Z (Mac)
Redo
Ctrl + Y (Windows) or ⌘Command + Y (Mac)
Saving
Saves the workbook you are currently working in. ‘Save as’ will open a window that allows you to choose a file name and location.
Save
Ctrl + S (Windows) or ⌘Command + S (Mac)
Save as
F12 (Windows) or ⌘Command + Up arrow + S (Mac)
Moving through worksheets
Larger workbooks can contain many worksheets. Clicking through them each time is slow and means having to take your hand off the keyboard. Not anymore with these shortcuts. They allow you to switch to the next worksheet (to the right) and to the previous worksheet (to the left).
Next worksheet
Ctrl + PageDown (Windows) or Alt+ Right arrow (Mac)
Previous worksheet
Ctrl + PageUp (Windows) or Alt+ Left arrow (Mac)
Formatting
Use these shortcuts to create bold, italics and underlined text. First, select a cell or specific cell contents, then use one of the following shortcuts:
Bold
Ctrl + B (Windows) or ⌘Command + B (Mac)
Italics
Ctrl + I (Windows) or ⌘Command + I (Mac)
Underline
Ctrl + U (Windows) or ⌘Command + U (Mac)
Edit current cell
This one is a combination of shortcuts that will make you able to leave your hands on the keyboard for way longer than before. You may already know that you can move between cells with the arrow keys (←, ↑, → and ↓). However, when you have selected the cell(s) you want, you still need to be able to edit its contents. You can do so with these shortcuts.
Move cell selection
Arrow keys ←, ↑, → and ↓ (Windows and Mac)
Edit selected cell
F2 (Windows) or Ctrl + U (Mac)
Cancel editing selected cell
Escape (Windows and Mac)
Copying, cutting and pasting
Copying, cutting and pasting are up there with undo and redo as universal great keyboard shortcuts. Not just in Excel, but in other software as well. Copying allows you to copy the currently selected elements, whether they are text, images, tables and many others. To place the copied elements somewhere, you can use paste. Cutting does the same as copying, except it removes the original element.
Copy
Ctrl + C (Windows) or ⌘Command + C (Mac)
Cut
Ctrl + X (Windows) or ⌘Command + X (Mac)
Paste
Ctrl + V (Windows) or ⌘Command + V (Mac)
Need more shortcuts?
If your hunger for shortcuts hasn’t been satisfied, you can download our [thrive_2step id=’2112′]Excel Beginner Cheat Sheet[/thrive_2step], containing many more shortcuts for you. In Excel format, so you can immediately give them a try.
Those have been the beginner lessons
Nice and short lessons huh?
Still, we’re impressed you’ve read this far. You’ve gotten a nice start to building your Excel knowledge.
Here’s a little secret: these past 4 lessons have been taken directly from the Excel Foundation Course. If you like the way they were structured you’d really enjoy the full course.
If you don’t get the full course, that’s fine too! But if you enjoyed it, please share these lessons with people that could benefit from it.
What’s next?
You can try your hand at the Beginner Tips and Tricks.
Happy Excelling!
the information was very use full